Do you want to know how to make sprouts at home? Congratulations! From Greenuso we have created the definitive guide where we will show you the steps you must follow to germinate seeds in a very easy way.
Now you will be able to make your seed sprouts at home and use them in the kitchen or transplant them in the garden. Let’s start!
What are sprouts?
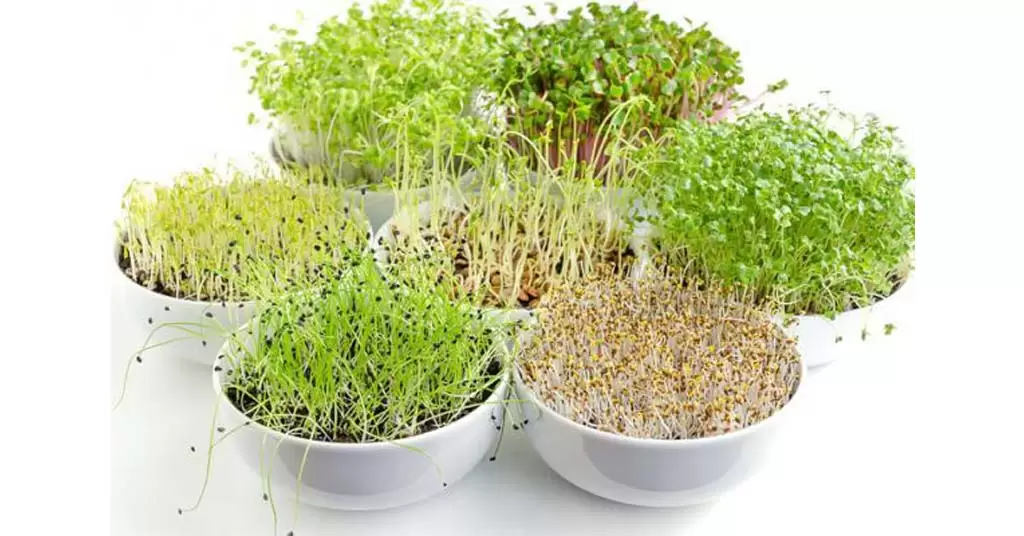
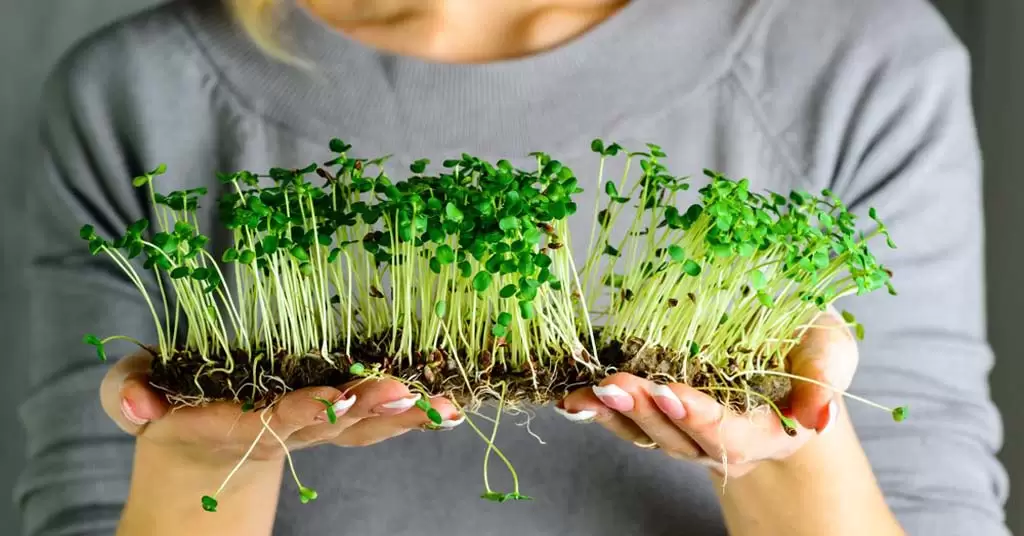
Sprouts are seedlings in their initial state, i.e. when they have barely begun to sprout. They are also known as seedlings and are an excellent source of nutrition for the body.

They concentrate more vitamin, minerals, antioxidants and proteins than the already developed plant itself. For example, broccoli sprouts have more nutritional properties than the already formed broccoli itself.
Types of sprouts at home
Discover 5 types of sprouts at home that you can use in the kitchen to prepare a healthy and nutritious recipe.
1. Soya sprouts
Soya sprouts are an essential ingredient when preparing Chop Sue and a wide variety of salads. Among its nutritional properties we have proteins, folic acid, iron, and even vitamins C and B.
2. Lentil sprouts
The lentil sprouts develop so quickly that they are ready for consumption in just 4 to 5 days. They also stand out as the edible sprout with the highest percentage of protein you’ll find.
3. Radish sprouts
It is a sprout with an intense and somewhat spicy flavour, thanks to these characteristics it has become a favourite for preparing salads and raw food. It is also ideal for offering a crunchy texture.
4. Wheat sprout
Wheatgrass has a mild, delicious taste and is easy to digest. In addition, it is an important source of protein, potassium, iron and calcium to a lesser extent. Thanks to these properties, it has a high antioxidant capacity.
5. Alfalfa sprouts
This type of sprouting gives the dishes a crunchy texture and keeps them in perfect condition in the fridge for up to 4 days. It is a good source of minerals such as calcium, zinc, magnesium and potassium. It also contains fibre, vitamin C and riboflavin.
How to make sprouts at home, step by step
We bring you a simple step-by-step guide to prepare your own sprouts as an expert in the field would. Here we go!
Before starting the step-by-step, I will tell you about the materials you must have at hand to carry out the germination, these are
- A large glass jar.
- A piece of fine cloth or gauze.
- An elastic or rubber.
- The seeds of your preference. (lentils in this case but they can be any other grain)
- Water.
1. The first thing you should do is clean the lentils from any stones or dirt they may have and wash them thoroughly with plenty of water.
2. The next step will be to place the peas inside the glass container. It is important that you only fill a quarter of the jar as the seeds will grow when they germinate and will need space.
3. Then fill the jar with enough water to cover the lentils up to two centimetres above them.
4. Now place the fabric or gauze in the bottle cap and secure it firmly with the elastic.
5. Once the fabric is secured, leave the peas to soak for 12 to 18 hours in a place where they will not be exposed to direct sunlight, preferably dark to accelerate germination.
6. After this time, we will proceed to drain all the water from the soak and fill the jar again with fresh water.
7. Then we will also drain this last water but this time we will leave the bottle tilted about 45 degrees with the mouth down for 12 more hours. This is to prevent the water accumulated at the bottom of the bottle from creating fungus and rotting the seeds.
8. During the next 4 or 5 days for periods of 12 hours you will wet and drain the peas as indicated in the previous step. The idea is to keep them moist but without excess water damaging them.
9. After this time the sprouts will have grown enough and will be ready for consumption.
F.A.Q: Frequently asked questions about home sprouts
Below, we will answer the most frequently asked questions that some users have about sprouting at home.
How to germinate tomato seeds?
Pay special attention to the procedure you should follow to germinate tomato seeds:
- The first thing you should do is moisten the paper towel, but don’t let it get soaked in water.
- Place the tomato seeds on the moistened paper without touching them.
- Carefully roll up the paper and wet it again.
- Now place the rolled up paper in a zippered plastic bag and store it in a draught-free place.
- Within 3-5 days the small sheets will appear.
- After 12 to 24 hours after germination you can plant the tomato seeds in seedling trays.
- Check that they do not lack moisture or they will die within a few hours.
How to germinate lemon seeds?
Find out how to germinate lemon seeds step by step:
- Start by preparing a seedbed with seed substrate.
- Then, stir the soil by hand and moisten it without exceeding the amount of water.
- Now use your finger to make holes in the soil to place the organic lemon seeds.
- Proceed to place the seeds in all the holes.
- Then cover the seedbed with a thin layer of transparent plastic or film.
- It is important that you make small holes in the plastic beforehand to keep it moist and to allow it to breathe.
- Place the seedbed in a warm place where it does not receive direct sunlight.
- Finally water the seedbed when you notice the dry substrate. In this way it will gradually grow.
How long does it take for an avocado stone to germinate?
An avocado pit takes about 10 days to germinate. However, it will require several more weeks to be transplanted.
In addition, it needs at least 3 years for the tree to sprout its first flowers and 5 years to bear its first fruit.
Now that you know how to make sprouts at home, don’t wait any longer and start following all the recommendations that we at Greenuso create for you.

